To highlight in Notes on Mac, select the text, right-click, choose “Font” and pick a highlighted color. Highlighting text in Notes on Mac is a simple process that enhances organization and readability.
Whether you’re studying, making notes, or marking important information, highlighting helps to draw attention to key points. With just a few clicks, you can easily highlight text in different colors to categorize information or emphasize specific details. This feature is especially useful for quickly locating important sections within your notes or documents.
By utilizing this tool effectively, you can streamline your workflow and make your notes more visually appealing and easier to navigate.
Credit: discussions.apple.com
Using The Highlight Tool
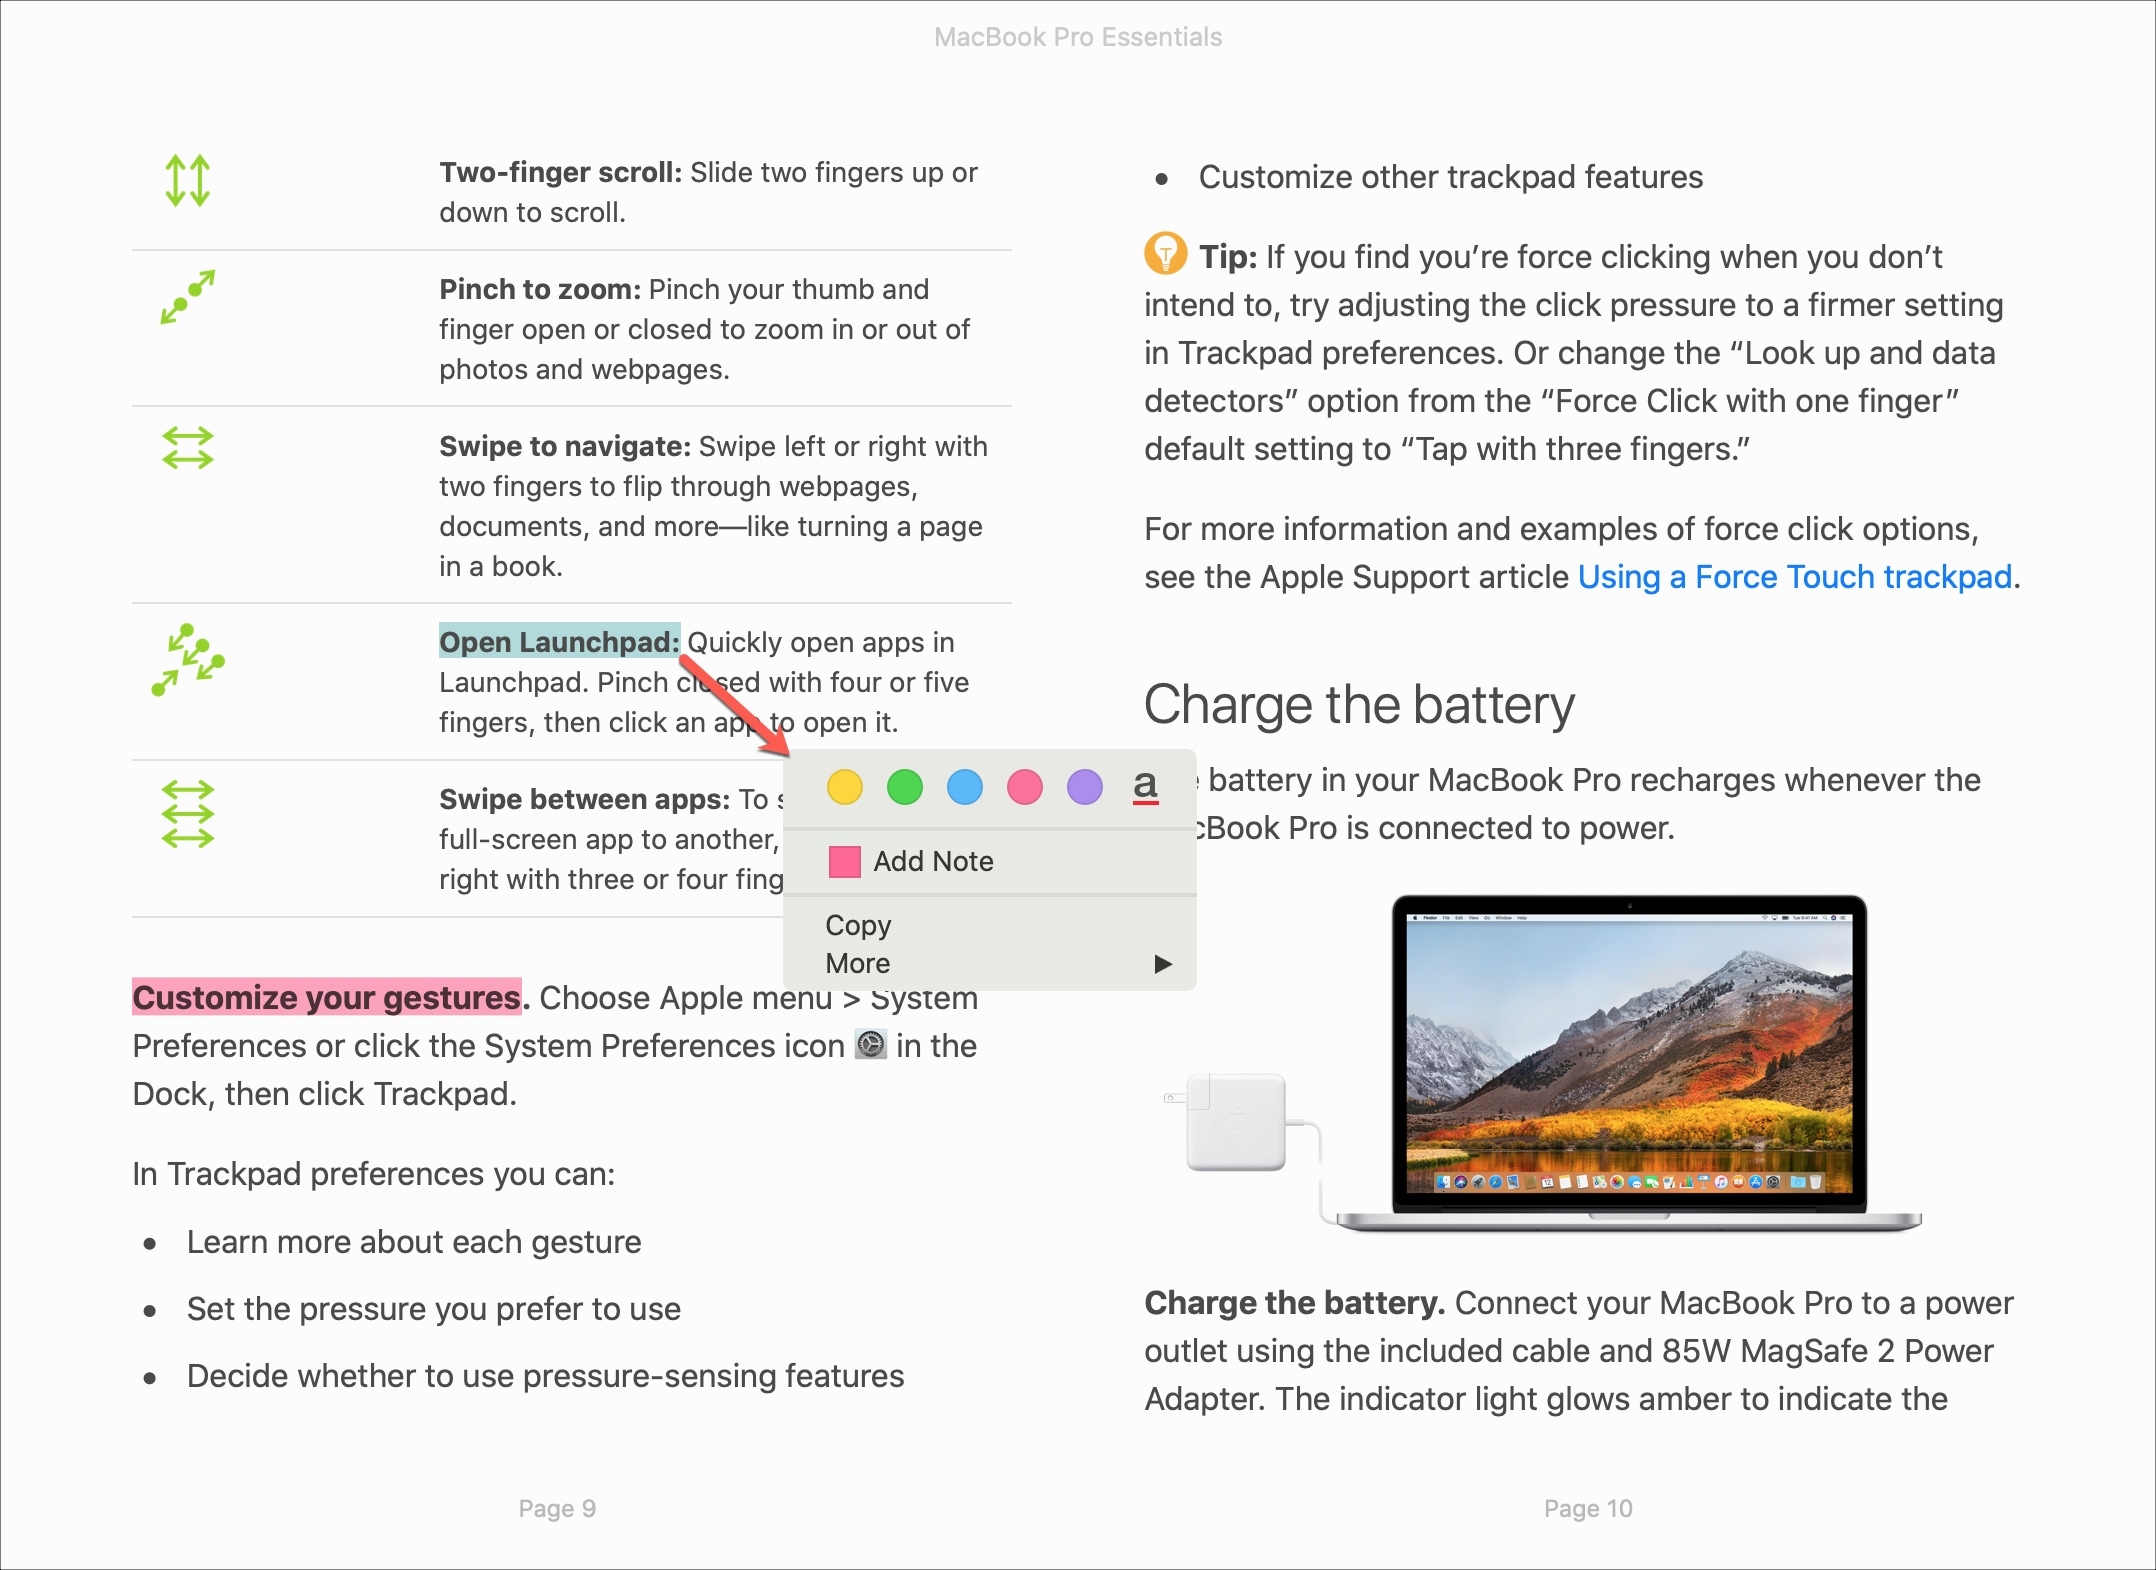
Using the Highlight Tool: To access the highlight tool in Notes on Mac, simply select the text you want to highlight and then right-click to bring up the context menu. From there, choose the “Markup” option and then click on the “Highlight” tool.
Locating the highlight tool: The highlight tool can be found within the Markup menu, which offers various annotation options for your notes. It’s a simple and effective way to draw attention to important information within your notes.
Choosing colors for highlighting: After selecting the highlight tool, you can choose from a variety of colors to customize your highlights. This feature allows you to organize and categorize your notes with visual cues, making it easier to review and prioritize the highlighted content later.
Credit: www.idownloadblog.com
Shortcut Keys For Highlighting
Shortcut keys are a convenient way to highlight text in your notes on Mac. By learning the shortcut for highlighting, you can save time and effort. In addition to the default shortcut keys, you can also customize the keys according to your preference. To do this, follow these simple steps:
| Step | Action |
|---|---|
| 1 | Open the notes app on your Mac. |
| 2 | Go to the “Preferences” menu. |
| 3 | Click on the “Keyboard” tab. |
| 4 | Choose the “Shortcuts” option. |
| 5 | Select “Text” from the left panel. |
| 6 | Find the “Highlight” function and click on it. |
| 7 | Assign a new shortcut key or modify the existing one. |
| 8 | Save your changes and exit the preferences menu. |
That’s it! Now you have the power to highlight text effortlessly using shortcut keys on your Mac. Take advantage of this feature and boost your productivity when working with notes!
Advanced Features
Advanced Features: To enhance your notes on Mac, use highlight with annotations to emphasize important information. Change highlight opacity for better visibility.
Credit: www.idownloadblog.com
Organizational Tips
Get organized with these simple tips for highlighting in Notes on Mac. Easily categorize and prioritize information by color-coding important points. Streamline your note-taking process and enhance productivity with these organizational tips.
| Organizational Tips |
| Create a system for highlighted notes to stay organized on Mac. Utilize the color-coded highlighting feature to categorize important information efficiently. Searching for highlighted text becomes easier when you have a structured system in place. |
Syncing And Sharing
To sync highlighted notes across devices on your Mac, follow these simple steps:
- Open the Notes app on your Mac and select the note that contains the highlighted text you want to sync.
- Click on the “Share” button in the toolbar.
- From the drop-down menu, choose “Copy Link”.
- Paste the link in a text message, email, or any other platform to share with your desired device.
- Open the link on the receiving device to access the shared note with its highlighted text.
Sharing highlighted notes is equally convenient:
- Open the Notes app on your Mac and select the note that contains the highlighted text you want to share.
- Click on the “Share” button in the toolbar.
- Choose the desired sharing method, such as AirDrop, Message, or Mail.
- Enter the recipient’s details or select their device from the options provided.
- Send the note, and the recipient will be able to view the highlighted text.
By following these steps, you can easily sync and share highlighted notes on your Mac, allowing for seamless collaboration and access across multiple devices.
Troubleshooting
If you are experiencing issues with highlighting in Apple Notes, try these troubleshooting tips. First, ensure that you are using the latest version of the Notes app. Check for any software updates on your Mac. If the problem persists, try restarting your device. Sometimes a simple reboot can resolve performance issues. If you are still unable to highlight text, consider checking your system settings for any conflicting preferences. Adjusting the display settings may improve the functionality of the highlighting feature. Should these steps not resolve the issue, consider reaching out to Apple Support for further assistance.
Conclusion
Highlighting notes on your Mac has never been easier. With just a few simple steps, you can efficiently organize and emphasize key information within your digital notes. From color-coding to text formatting, the versatility of highlighting options on Mac offers a seamless user experience.
By leveraging this feature, you can enhance productivity and streamline your note-taking process. So, why wait? Start harnessing the power of highlighting today and unlock the full potential of your Mac notes.