To add Android and iOS folders in React Native, you need to create separate files for each platform by using the “.android” and “.ios” extensions, and then place platform-specific code in these folders. This will allow you to write platform-specific code for Android and iOS.
When developing a React Native app, it’s crucial to understand how to properly organize platform-specific code for Android and iOS. By creating separate folders for each platform and placing platform-specific code in them, developers can ensure that the app functions correctly on different devices and operating systems.
We will discuss the steps to add Android and iOS folders in React Native and provide a step-by-step guide on how to structure platform-specific code for a seamless app development experience. By following these guidelines, developers can ensure their React Native app is optimized for both Android and iOS devices.
Credit: reactnative.dev
Setting Up React Native Project
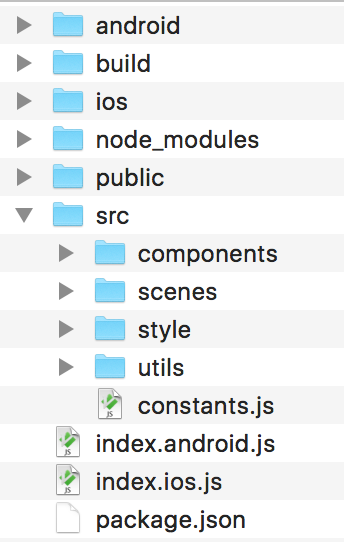
Creating a new React Native project is the first step to adding Android and iOS folders. Let’s start by understanding the project structure:
- ios
- Contains the Xcode project files for iOS development.
- android
- Contains the Android project files for Android development.
- index.js
- The entry point for the React Native app.
- App.js
- The main component of the React Native app.
To create a new React Native project, open your terminal and run the following command:
npx react-native init MyProjectThis will create a new directory named “MyProject” with the necessary files and folders. Once the command finishes, navigate to the project directory:
cd MyProjectNow you can add the Android and iOS folders to the project. This will allow you to develop and test your app on both platforms. Congratulations! You’re ready to dive into React Native development.
Adding Android Folder
Adding Android folder in React Native is crucial for Android development. Step 1: Navigate to Project Directory by using command prompt. Step 2: Create an Android folder with necessary Android files.
Configuring Android Folder
Learn how to easily add Android and iOS folders in React Native for seamless development and configuration.
| Android-specific Configurations: |
| 1. Locate Android folder within your React Native project directory. |
| 2. Make necessary changes in AndroidManifest.xml for permissions or configurations. |
| 3. Add native modules or packages specific to Android in the Android folder. |
| 4. Connect Android folder by running ‘react-native link’ command in the terminal. |
| 5. Ensure Android-specific dependencies are correctly installed and linked to React Native. |
Credit: medium.com
Adding Ios Folder
When it comes to adding the iOS folder in React Native, there are a few steps that you need to follow:
| Step 1: Navigating to the iOS Directory |
| 1. Open your project’s folder in your preferred code editor. |
| 2. Look for a folder named “ios” and open it. |
| 3. Here, you will find the necessary files and folders to work with the iOS platform of your React Native app. |
| Step 2: Adding iOS Folder and Files |
| 1. If you don’t see an “ios” folder, you can create one by right-clicking on your project’s root folder and selecting “New Folder” or “Create Folder”. |
| 2. Inside the “ios” folder, you will need to add specific files such as “Podfile” for managing dependencies and “Info.plist” for configuring your app’s settings. |
By following these steps, you will be able to successfully add the iOS folder in your React Native project.
Configuring Ios Folder
To configure iOS folder in React Native, simply add Android and iOS folders in the project directory. This allows for separate platform-specific configurations for a smoother development process. It is essential for optimizing app performance and ensuring compatibility across different devices.
Testing The Setup
When setting up a React Native app, the process of adding Android and iOS folders is crucial to ensure smooth functionality on both platforms. This requires thorough testing of the setup in order to identify any potential issues. When running the app on the Android emulator, it’s important to pay attention to the performance and user interface to ensure a seamless experience. Similarly, when testing the app on the iOS simulator, focus on smooth navigation and consistent display. By rigorously testing the setup on both platforms, developers can guarantee the app’s compatibility and performance, providing users with a reliable and enjoyable experience.
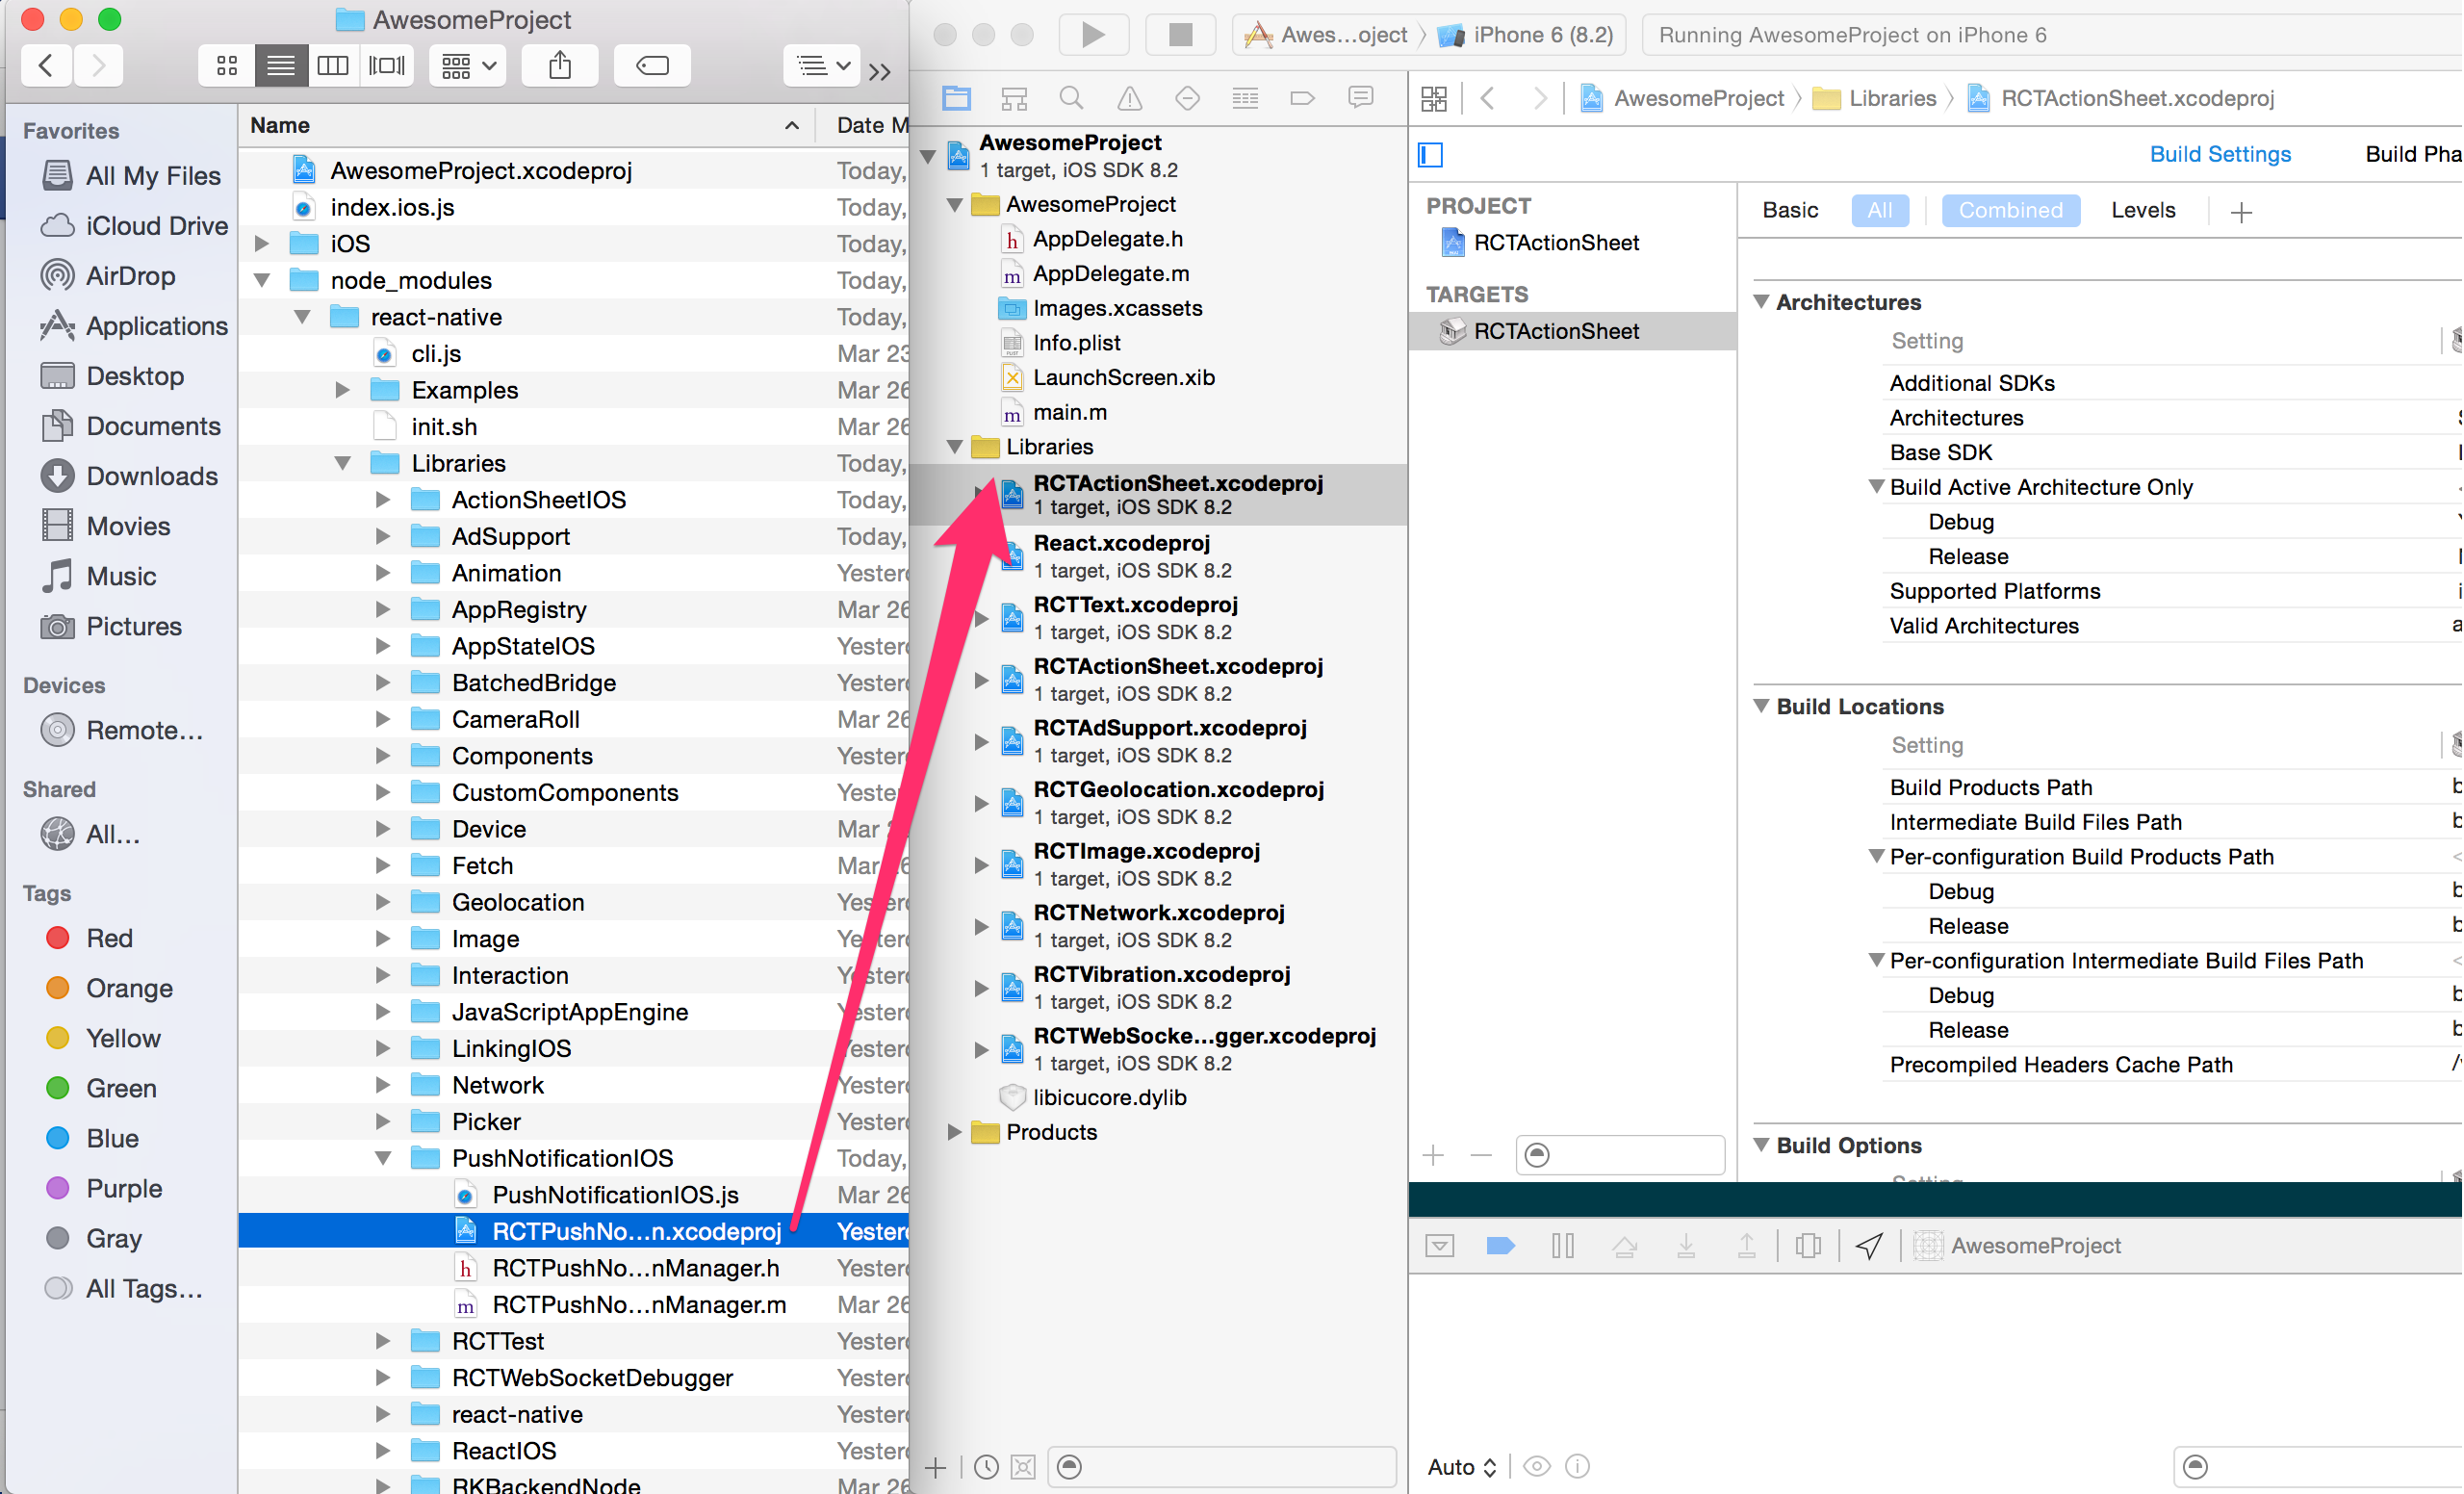
Credit: stackoverflow.com
Conclusion
Adding Android and iOS folders in React Native is an essential step for developing cross-platform mobile applications. By following the instructions provided in this blog post, you can easily organize your codebase and optimize the user experience for both Android and iOS users.
With this knowledge, you’ll have the ability to reach a wider audience and deliver seamless mobile experiences on multiple platforms. Start implementing these folder structures today and elevate your React Native development skills to new heights!